Nu:Logic - We Live There feat. DRS
Naughty Boy - La La La feat. Sam Smith
Fantastic collab between brothers Matt & Dan Gresham (Logistics and Nu:Tone, respectively) and renowned rapper MC DRS.
Naughty Boy - La La La feat. Sam Smith
Fantastic collab between brothers Matt & Dan Gresham (Logistics and Nu:Tone, respectively) and renowned rapper MC DRS.
The expiration of an SSL certificate can render your secured service inoperable. In late September, LightSpeed’s SSL certificate for their activation server expired which made any install or update fail due to not being able to connect to said activation server via SSL. This problem lasted two days and was a problem worldwide. This could have been avoided by monitoring the SSL certificate using a monitoring solution like GroundWork. We currently have a script that checks certificates, but it’s only designed to look at certificates on OS X in /etc/certificates. I’ve since written a bash script that will obtain any web-accessible certificate via openssl and check its start and end expiry dates.
The command I use to get the SSL certificate and its expiry is as follows:
echo "QUIT" | openssl s_client -connect apple.com:443 2>/dev/null | openssl x509 -noout -startdate 2>/dev/null
First, we echo QUIT and pipe it to the openssl s_client -connect command to send a QUIT command to the server so openssl will finish up neatly (and won’t expect a ^C to quit the process). Next, that result is piped to openssl x509 which displays certificate information. I also send the noout flag to not prevent the output of the encoded version of the certificate. Finally, startdate or enddate depending on which date I want. With both of the openssl commands I redirect stderr (standard error) output to /dev/null because I’d rather ignore any errors at this time.
The rest of the script performs regex searches of the output (using grep), then formats the timestamp with date before doing a differential of the expiration timestamp, and the current timestamp (both of these are in UNIX Epoch time). Depending on how many you days in the expiration warning, if the number of seconds for the current Epoch time minus the expiration date is less than the expiration day count, a warning is thrown.
To use this script, all you need to specify is the address of the host, the port and number of days to throw a warning (e.g. specify 7 if you want a warning period of 7 days). For example, to get the SSL certificate for apple.com on the port 443 you would enter:
./check_ssl_certificate.expiry -h apple.com -p 443 -e 7
And you should get something like below:
OK - Certificate expires in 338 days.
Not only does this script verify the end date of the certificate, but it also verifies the start date of the certificate. For example, if your certificate was set to be valid from 30th December 2013, you might see something like the error below:
CRITICAL - Certificate is not valid for 30 days!
Or if your certificate has expired, you’ll see something like below:
CRITICAL - Certificate expired 18 days ago!
Hopefully this script will prevent your certificates from expiring without your knowledge, and you won’t have angry customers that can’t access your service(s)!
Just a quick heads up that the Nagios script for Time Machine written by Jedda (and updated by me) has been updated with support for OS X Mavericks (10.9). Unfortunately the .TimeMachine.Results file no longer exists in Mavericks. At first my thought was to enumerate through the arrays in /Library/Preferences/com.apple.TimeMachine.plist but that was going to be very complex, and very difficult to do in Bash. In the end, tmutil (Man Page Link) came to the rescue.
Along with the other Mavericks scripts, I do the quick check to see what OS is running before doing a if/then statement depending on the OS. When running tmutil latestbackup you’ll get the path to the latest backup (note that the disk(s) must be connected otherwise the command will fail). The last folder in the path is the timestamp for the most recent backup. Using grep we can pull out the timestamp from the path:
tmutil latestbackup | grep -E -o "[0-9]{4}-[0-9]{2}-[0-9]{2}-[0-9]{6}"
Next up, using the date command we can convert the timestamp to the time in Unix Epoch (number of seconds from 1st January, 1970). Once the timestamp has been converted to the Unix timestamp, we get the current time in Unix time and measure the different between the two by subtracting the latest backup timestamp from the current timestamp.
This is a relatively minor update to the OS X Monitoring Tools codebase, but it’s handy to have another script updated for OS X Mavericks (10.9). As always, the code for the file is below:
Today on Backblaze’s blog they posted an excellent article on the lifespan of a hard drive (or HDD for the cool cats). Having spent the last three and a half years in a break/fix workshop I spend every day dealing with failing hard drives, and customers with no backups. Years ago I would’ve felt sorry for people that have lost data because storage was relatively expensive and there wasn’t a good range of software that made the backup process easier. These days I find it hard to sympathise with people who lose data because there are so many cheap and easy ways to backup your drive. I’m going to lay out how I manage my backups, and how it works for me.

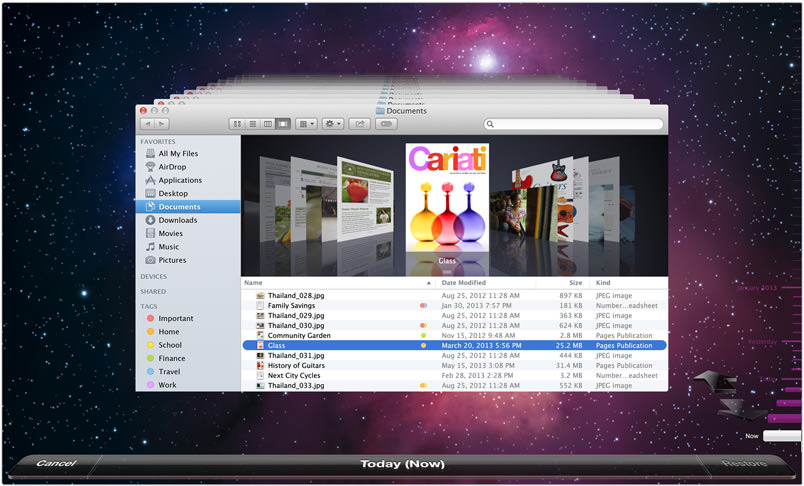
Time Machine has been included in OS X since Leopard (10.5 / 2007 ) and has been getting better and better every OS X release. Mountain Lion (10.8 / 2012) brought the biggest change with allowing you to have multiple Time Machine backup destinations, utilising a “round robin” system. I use a multi-disk Time Machine backup where my first disk is a 2TB LaCie Porsche which I manually plug into at home every few days, and my main Time Machine backup disk is done through Time Machine Server on my Mac mini Server at home, and stored on a Drobo which is connected via FireWire 800. I probably wouldn’t restore my entire machine from the networked Time Machine backup as it would take forever, but I would use it to restore some files and folders. In the end it’s really a safety net that I can fall back on just in case my drive(s) die, I can recover most of my data from the Carbon Copy Cloner backup, then recover any further files from Time Machine.

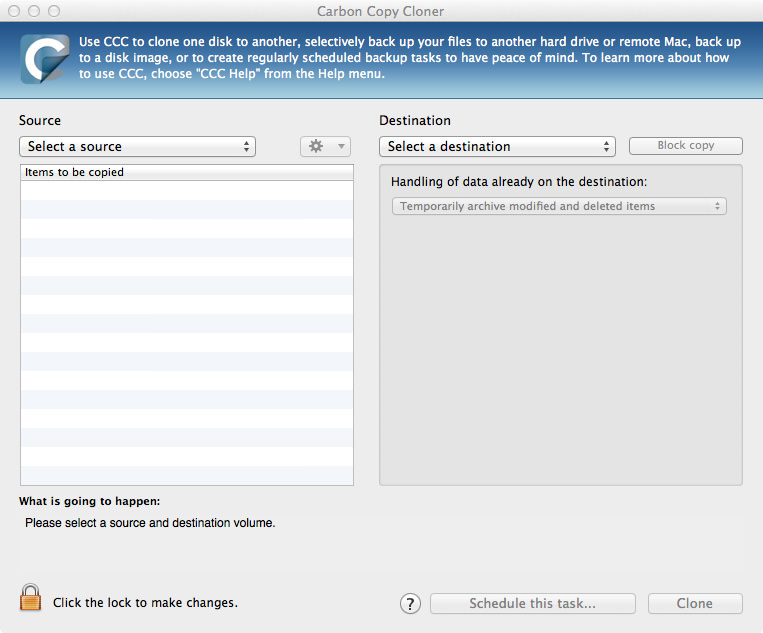
Carbon Copy Cloner has been one of the best tools in my arsenal of Mac diagnostics and repair for years now. I was initially thrown out by the sudden minor version release where it went from a free program to costing $40, but I bought it straight away because I know how reliable it is, and how much work Mike Bombich puts into the application. I have another 2TB LaCie Porsche which also only gets connected every few days or so and I run a scheduled backup that clones all changes from my MacBook Pro to the LaCie Porsche every 2 hours. I like having the CCC backup because unlike my other backups, this backup is bootable so if my machine goes down at the wrong time, I can boot from my backup quickly and finish off something before fitting a new drive.

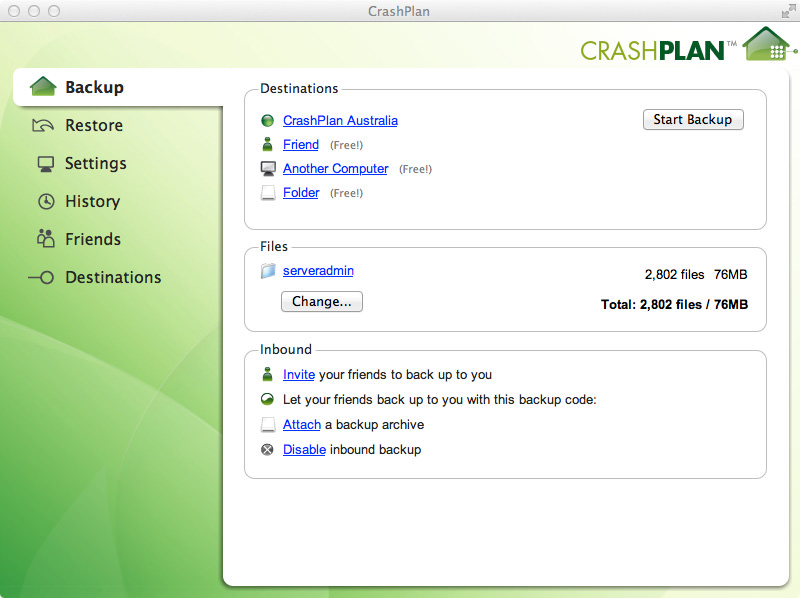
Last but certainly not least is CrashPlan, the amazing cloud backup service that continuously backups your important stuff whenever you’re connected to the internet. I decided to get a family account and have set it up on some family and friends accounts where they can back up to CrashPlan’s servers, along with my Mac mini Server that has some space on my Drobo dedicated for CrashPlan backups. I really like CrashPlan because the frequency of versioned files is tuned to 15 minutes by default, so if I’m working on a document or coding and I make a huge mistake, I can go back to a good copy with CrashPlan - that strategy really has worked for me. The backup for my personal MacBook Pro has two backup sets:
/Applications because I have some apps that I can’t find download links for anymore, and I also backup ~ (or my home folder). I also have a filename exclusion list that excludes specific file extensions like virtual machine files and movie files. Uncompressed, this is just under 300GB.All in all, I have three separate backup systems with five separate points of failure (or two if my house is completely destroyed and I’m not at home at the time). I’m hoping that I won’t have to use one of my backups to fully restore, but given that I’m running DIY Fusion Drive on an optibay-ed MacBook Pro, I’m expecting that one day an update will royally screw it. Given that all the options I’ve mentioned are really really cheap, save yourself some pain and get a good backup routine going!
I gave Backblaze a try over a year ago but didn’t like the fact that it automatically excluded (and wouldn’t include) some folders that I wanted to have backed up so I stopped using the service. I’ve re-signed and am going to giving it a second try - hopefully it works a little better for me. I also found the app a little confusing, I was never sure if it had finished seeding, or what the status was at all.
Sub Focus - Tidal Wave feat. Alpines
Amazing vocals in this track, I love it!
N.W.A. - Straight Outta Compton
Love those caps.

Recently I had an issue where a friends Legacy FileVault sparsebundle became corrupt when they upgraded to OS X Mavericks. Whenever they logged in and tried to mount their home-foldered sparsebundle, the error “No mountable file systems” would appear. Even cloning the sparsebundle and trying on another computer resulted in the same problem. My initial thoughts are “Shittt… all the data is gone”, but I know that just because I get a generic error message, doesn’t mean I can’t fiddle around and get it working again. Here are the steps I followed to mount the “corrupt” sparsebundle and recover all the data in the process.
First up, as you would have tried, mounting the sparsebundle through DiskImageMounter.app doesn’t work. Never fear, the command line is here! Using the hdiutil command in Terminal, we can attach the sparsebundle to the filesystem without actually mounting it. We’ll also add a few flags to tell hdiutil that we don’t want to verify or check the checksums of the image (which are probably causing it to fail mounting in the first place). Here’s my final command to attach the sparsebundle to Mac OS X:
hdiutil attach -nomount -noverify -ignorebadchecksums /path/to/faulty.sparsebundle
After a few seconds you’ll get prompted to enter the password to unlock the sparsebundle (if it’s encrypted) and then it’ll be attached to OS X. You’ll get a list of the BSD /dev node along with with the human-readable GUID of the partition (do man hdiutil to find out what I mean). Here’s the output of when I mount my faulty.sparsebundle:
/dev/disk3     Apple_partition_scheme
/dev/disk3s1   Apple_partition_map
/dev/disk3s2   Apple_HFS

Okay, now that the sparsebundle has been attached to OS X, it’s time to open one of my favourite programs of all time: DiskWarrior. fsck_hfs just doesn’t cut it, but DiskWarrior will often always work its beautiful magic and get drives mounting for me again. Once you’ve got DiskWarrior open, it’s time to repair the disk! The attached volume is very likely called “Unknown Disk”, just select the one that’s most likely to be your attached sparsebundle.

Now, in my friends case, doing a “Scavenge” rebuild and repair in DiskWarrior would recover only a few files, but doing a normal rebuild would recover all the files. I would normally try doing a normal rebuild first and checking the preview, it’s really trial and error. Go ahead and click Rebuild then wait until DiskWarrior has finished and shows you the Rebuild Report. Instead of clicking Replace, we’ll go ahead and click Preview.

Jump back to the Finder and open up the Previewed ‘faulty’ volume, or list the contents of the volume in Terminal:
ls -la /Volumes/faulty/

You should now see all of your stuff! I would now ditto, rsync, cp, or Carbon Copy Clone all of your files out of that sparsebundle ASAP (and avoid using Legacy FileVault ever again). Hopefully this has helped you (or someone you know) recover your precious data from a corrupted sparsebundle (or Legacy FileVault disk image).
I’ve just updated the Nagios script for OS X Server’s Caching Server with support for ensuring Caching Server is running on a specific port.
In a normal setup of Caching Server, it has the ability to change ports during reboots, and if you have a restrictive firewall, you’ll have to specify a port for Caching Server via the command line. You can specify the port via the serveradmin command (make sure you stop the service first):
sudo serveradmin settings caching:Port = xxx
The xxx is the port you want to use for Caching Server. Normally, Caching Server will use 69010, but depending on your environment, that port may be taken by another service and so Caching Server will pick another port. Using that command above will get Caching Server to attempt to map to the specified port, but if it can’t it will fall back to finding another available port.
The script checks the port as defined in serveradmin settings caching:Port and cross-references it with serveradmin fullstatus caching:Port. If they are the same, we’ll continue through the script, but if it doesn’t I’ll throw a warning. Naturally, if serveradmin settings caching:Port returns 0, I skip any further port checks because a 0 port means randomly assign a port.
Interplay - Room Service
One of my favourite deep house tracks to date.
Danny Byrd - Like A Byrd feat. Saint Louis
Great sing-a-long track by the Byrd.