OS X Mavericks Server - Setting Up The Basics
So you’ve got OS X Mavericks and you want a server. Mavericks Server has brought a number of changes to the Server side of OS X. Notable changes include Xcode Server, a continuous integration service for teams of developers for Xcode, SMB2 for file sharing, Caching Server for caching of iOS content and speedy delivery, and Profile Manager with changes including distribution of apps and books purchased from the App Store volume licensing program.
To start, you should have OS X Mavericks installed, and Server downloaded. Initially, we will set a static IP address for the server, never use DHCP for a server. I’m going to use 10.1.125.120, you should use what ever free address is available on your network. Normally, I use .254 for my server (but in this example I already have my server running on .254).
To do this, go to System Preferences (on the server), then click on Network. Select the Ethernet interface (you are using Ethernet right? It’s a must), then next to Configure IPv4, select Manually from the drop-down menu. For my network, I’m entering these details:
- IP Address:
10.1.125.120 - Subnet Mask:
255.255.255.0 - Router:
10.1.125.1 - DNS Server:
127.0.0.1, 10.1.125.254, 10.1.125.1
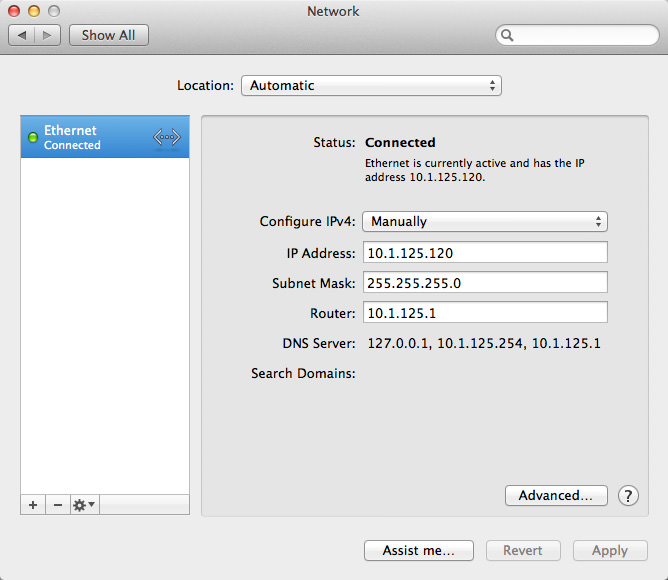
Under the DNS Server section, if you intend on using this server as a DNS server, you must have 127.0.0.1 set as the first DNS server. This is so DNS lookups are sent to this server first, then if it is not authoritative, it’ll pass the query on to the next DNS server.
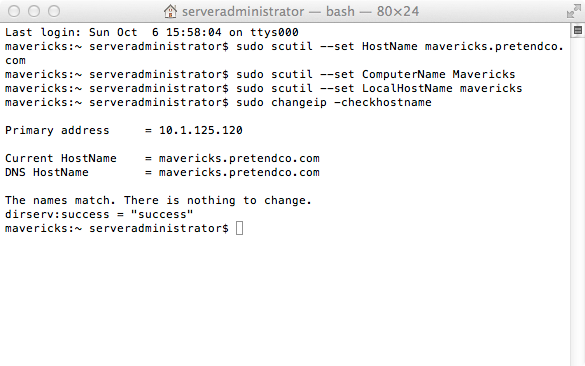
Next, we’re going to set up the hostname for the server. I’m going for mavericks.pretendco.com. Open up your Terminal window, because we’re going to set it up via the command line (you could set it up later via the Server app GUI, but I prefer to do it via the command line before installing Server). First off, we set the HostName of the server.
sudo scutil --set HostName mavericks.pretendco.com
The HostName is the name that is associated with the commands hostname and gethostname. Next, we set LocalHostName.
sudo scutil --set LocalHostName mavericks
This is the local Bonjour host name. Finally, we set the ComputerName, which is the user-friendly name for the system. Some people choose to do the FQDN (or Fully Qualified Domain Name), but my preference is to just give it a nice looking name, given it’s meant to be a user-friendly name. I’m going to go with Mavericks.
sudo scutil --set ComputerName Mavericks
Now, I’m going to install the Server.app. Once you’ve downloaded Server from the Mac App Store, open it to start the initial install. Click through the prompts and enter your administrator username and password, then the Server.app will go through setup of certificates and basic configuration of services.
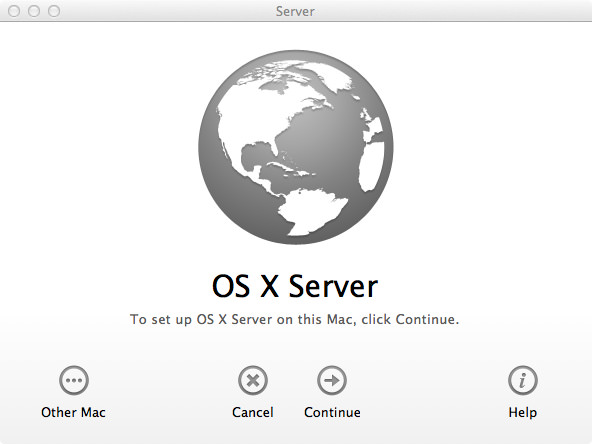
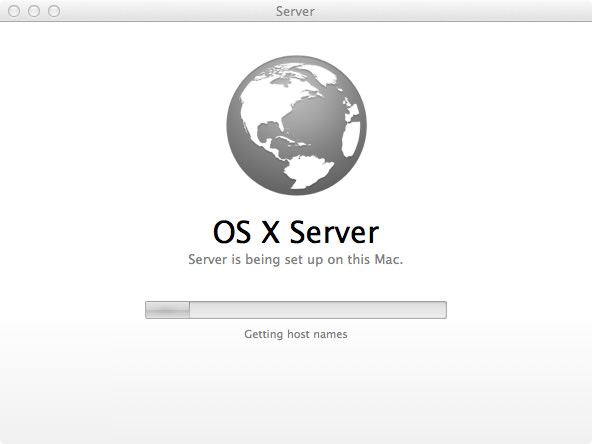

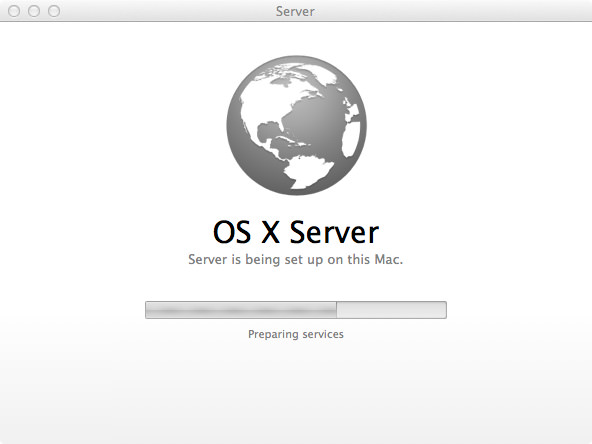
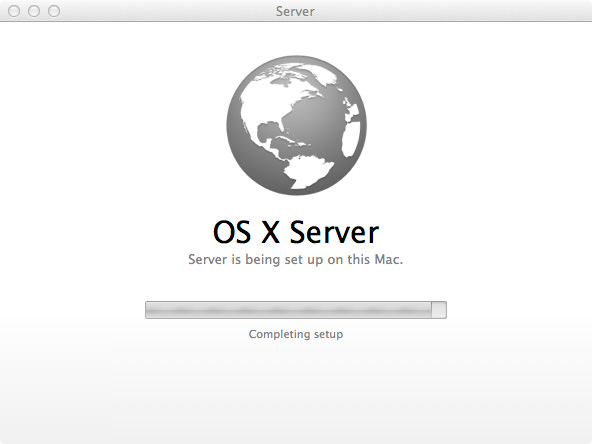
The stages of Server installation.
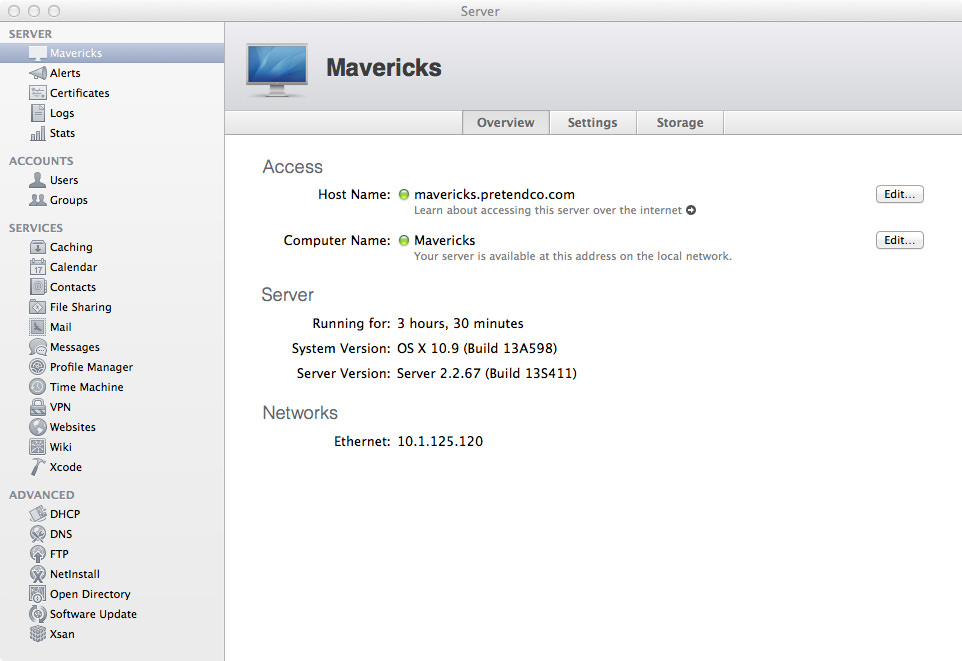
Once the setup has been completed, you’ll be shown the Machine section of the Server tree in Server.app
Now, let’s ensure DNS is healthy before we start configuring services. DNS is one of the most important parts of OS X Server, and must be healthy if you intend on maintaining a server. Open up a Terminal window and enter the command below:
sudo changeip -checkhostname
Hopefully, you should see something like below:
Primary address     = 10.1.125.120

Current HostName    = mavericks.pretendco.com
DNS HostName        = mavericks.pretendco.com

The names match. There is nothing to change.
dirserv:success = "success"
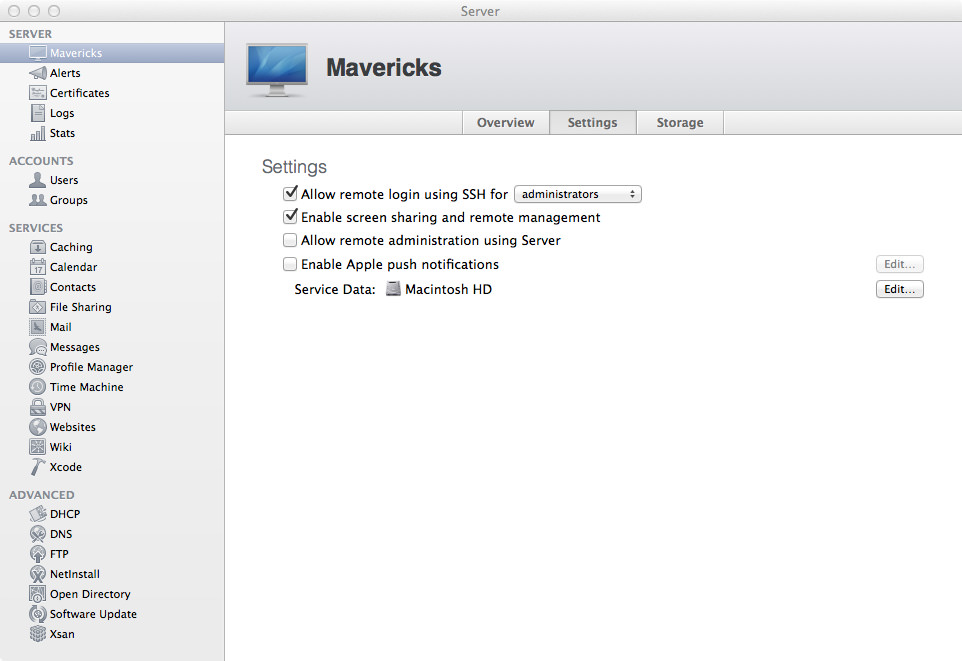
Hooray! OK, now, it’s a good time to enable SSH, ARD and Screen Sharing. You have two ways around this. First, you can go through the Server GUI by clicking on the server name under the Server tree, then click on Settings. Now, tick the “Allow remote login using SSH for administrators” box, and the “Enable screen sharing and remote management”. Otherwise, go back to your Terminal window and enter the following commands:
sudo serveradmin settings info:enableARD = yes
That’ll enable Apple Remote Desktop remote management so you can manage and get reports from the server. Next, we’ll enable screen sharing.
sudo serveradmin settings info:enableScreenSharing = yes
If you’re on another Mac on the same network, you should see the server pop up in the Shared list in Finder. Finally, we enable SSH by entering this command:
sudo serveradmin settings info:enableSSH = yes
If you went through the Terminal route of remote access, go back to the Server app and you’ll see those boxes have been ticked for you.
Lastly, if you’d like to administer the server through the Server app on another computer, you can do the following:
sudo serveradmin settings info:enableRemoteAdministration = yes
And this concludes the initial set up of OS X Mavericks Server. Stay tuned for more posts on configuring the latest version of Apple’s service application!